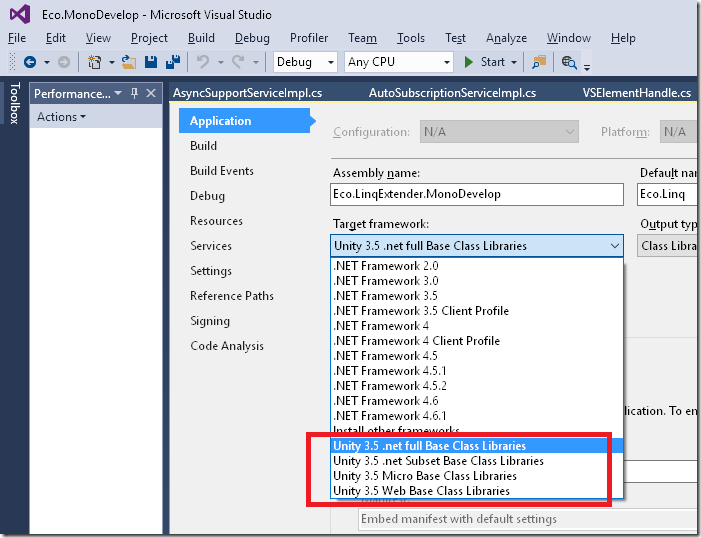
Unity3D uses Mono. Mono builds do not follow the usual .net versioning with 2.0,3.5 etc. There is a special .net Framework edition you must use. To get this, install the Visual Studio 2015 Tools for Unity. I suggest pasting the link – but it's better to Google “Visual Studio 2015 Tools for Unity”.
The Framework will show:
I have added this to our build script and it will be part of the EcoCore package on Nuget. Once you have a class library with Target Framework Unity 3.5 .net full Base Class Libraries, do this in the package manager console:
PM> Install-Package EcoCore
Attempting to gather dependency information for package 'EcoCore.7.0.0.8536' with respect to project 'ClassLibrary1', targeting '.NETFramework,Version=v3.5,Profile=Unity Full v3.5'
Attempting to resolve dependencies for package 'EcoCore.7.0.0.8536' with DependencyBehavior 'Lowest'
Resolving actions to install package 'EcoCore.7.0.0.8536'
Resolved actions to install package 'EcoCore.7.0.0.8536'
  GET https://api.nuget.org/packages/ecocore.7.0.0.8536.nupkg
Installing EcoCore 7.0.0.8536.
Adding package 'EcoCore.7.0.0.8536' to folder 'c:\users\hasse\documents\visual studio 2015\Projects\ClassLibrary2\packages'
Added package 'EcoCore.7.0.0.8536' to folder 'c:\users\hasse\documents\visual studio 2015\Projects\ClassLibrary2\packages'
Added package 'EcoCore.7.0.0.8536' to 'packages.config'
Successfully installed 'EcoCore 7.0.0.8536' to ClassLibrary1
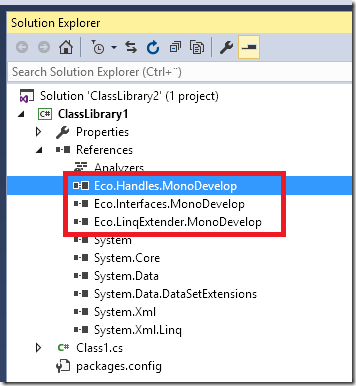
After that, you will find the MDriven Assemblies in your project:
That was requirement 1.
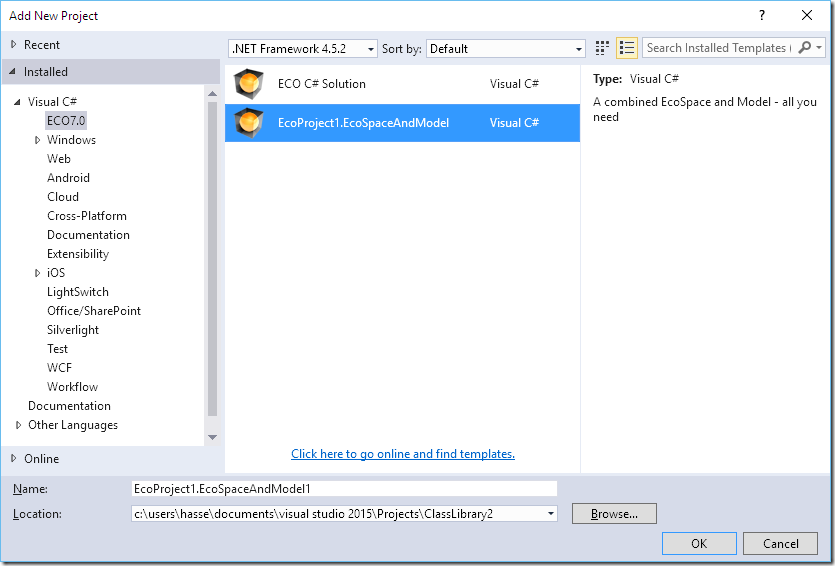
The next step is to provide an EcoSpace and Model for the project.
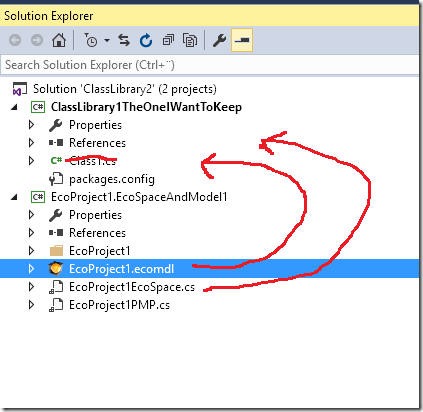
I suggest you add a temporary project that has these. Drag them over and throw away the leftovers:
Also, delete Class1 if you have it since it's unwanted and your default model contains another Class1.
You might want to use an existing model – then you would use a file link to this model and Package folder (EcoProject1).
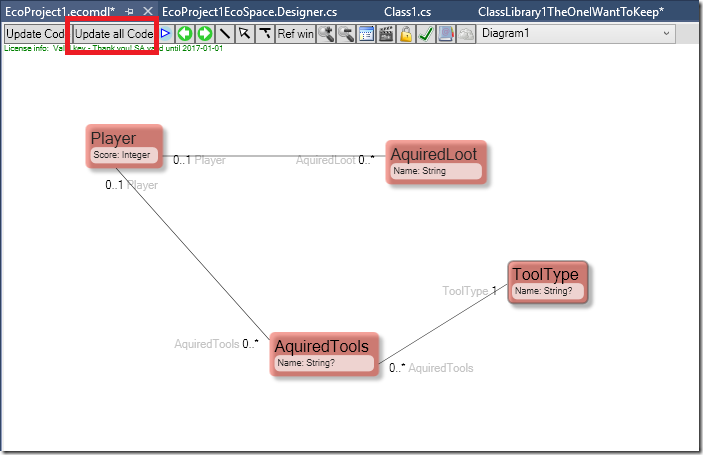
Do a little modeling and generate the code:
You will still have some errors but they will be easy to fix:
You do not have access to the PersistenceMapperSharer here (its main use is serverside when many clients share the same PersistenceMapper). Change to a PersistenceMapperXml for local storage in an XML.
    private Eco.Persistence.PersistenceMapperSharer persistenceMapperSharer1;
    /// <summary>
    /// Clean up any resources being used.
    /// </summary>
    protected override void Dispose(bool disposing)
    {
      if (disposing)
      {
        Active = false;
        if (this.components != null)
        {
          this.components.Dispose();
        }
      }

      base.Dispose(disposing);
    }

    private void InitializeComponent()
    {

      this.persistenceMapperSharer1 = new Eco.Persistence.PersistenceMapperSharer();
      this.persistenceMapperSharer1.MapperProviderTypeName = "EcoProject1.EcoSpaceAndModel1.EcoProject1PMP";
      this.PersistenceMapper = this.persistenceMapperSharer1;

      Eco.Persistence.PersistenceMapperXml xmlpm = new Eco.Persistence.PersistenceMapperXml();
      xmlpm.FileName = @"c:\temp\Gamedata10.xml";
      this.PersistenceMapper = xmlpm;

    }
That was requirement 2.
To get access to Unity3D, you must reference the UnityEngine: I found it here C:\Program Files\Unity\Editor\Data\PlaybackEngines\WindowsStandaloneSupport\Managed\UnityEngine.dll
Once you have that, you can construct your Information access:
using System;
using System.Collections.Generic;
using System.Linq;
using System.Text;
using UnityEngine;

namespace ClassLibrary1
{
  public class MyScriptThatUseMDriven: MonoBehaviour
  {
  }
}
MonoBehaviour will be found by the Unity runtime and will see if the object has a Start and an Update Method:
    void Start()
    {
      Debug.Log("Start!!! works?");
    }

    void Update()
    {
      Debug.Log("works?");
    }
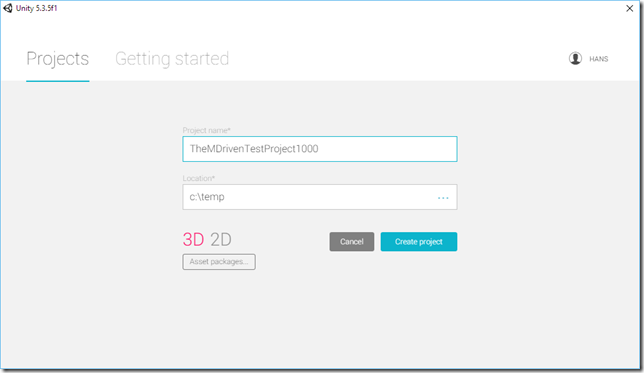
Now, start Unity. Create a project or find the project you want to use your information in.
You need to make your Assembly and its dependencies available to Unity.
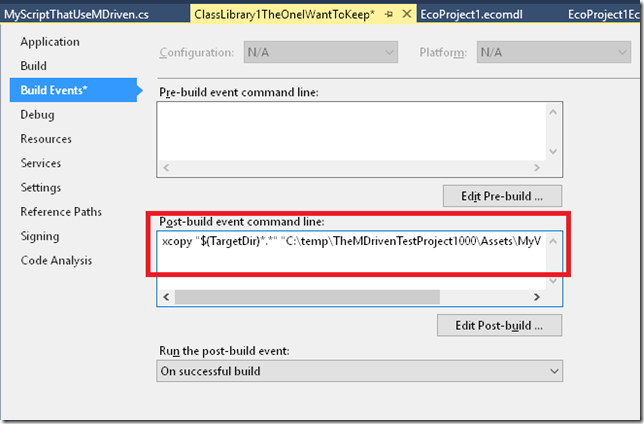
Set a build event on your project to copy over everything from your bin folder – but set the “Copy Local” of UnityEngine.dll to FALSE. This is because Unity will have its own copy of this important assembly:
The text in Post-Build is: “xcopy "$(TargetDir)*.*" "C:\temp\TheMDrivenTestProject1000\Assets\MyVSAssemblies" /Y” (I created a Folder in Unity called MyVSAssemblies).
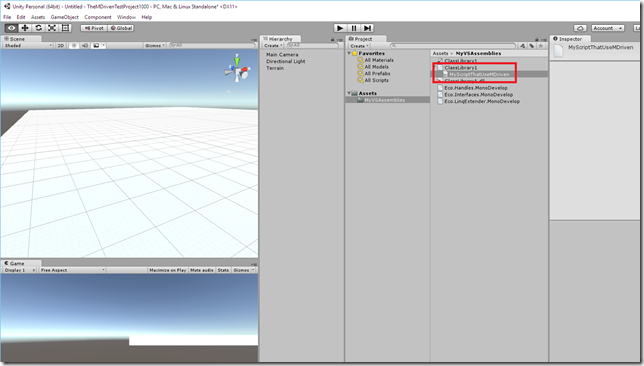
Now, build your assembly in VS, and after that, the post-build-event copies the result to your Unity project. As a result, Unity should find out the class that implements MonoBehaviour:
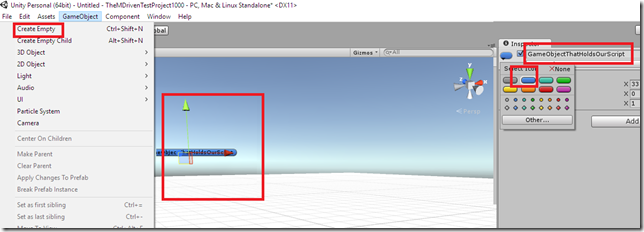
To get Unity to find a reason for executing our script as part of the game, associate the script with a GameObject. Add an empty GameObject whose only purpose is to be a reference for your script.
Then drag your script onto this game object:
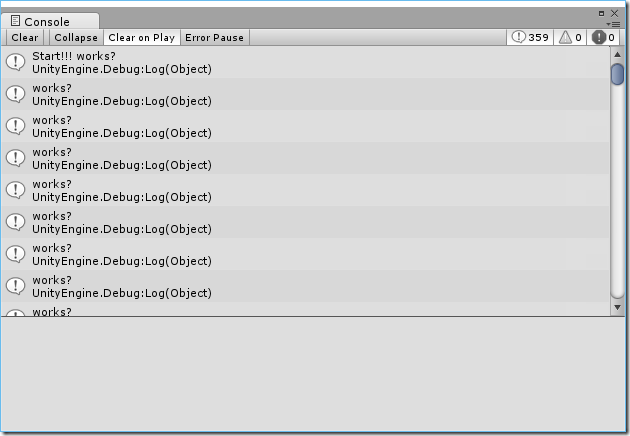
You can now verify that the script works by hitting Play in Unity and watching for your Debug.Log messages:
You have come pretty far. You can now make a prefab in Unity (look this up on a Unity blog) and call it “Player”.
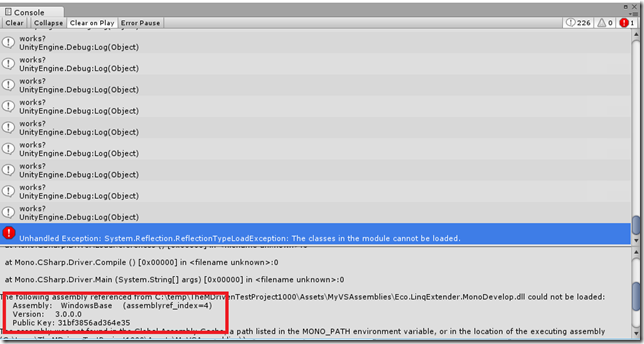
Oh, one note about the Console – you will find compilation errors here like this:
In this case, it says you are missing a reference to WindowsBase – you need to add it – and set Copy Local.
Create a Prefab and call it MyCarPrefab:
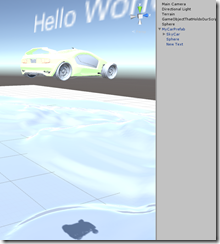
It has a Text Mesh and you use that to show the score. In Start, create prefabs from your Player objects, and spread them over the terrain:
    void Start()
    {
      Debug.Log("Start!!! works?");

      _es=new EcoProject1EcoSpace();
      _es.Active = true;

      var players=_es.Extents.AllInstances<Player>();

      int c = 0;
      foreach (var x in players)
      {
        c++;
        GameObject go = (GameObject)Instantiate(Resources.Load("MyCarPrefab"));
        var p = go.transform.position;
        p.Set(p.x + (c * 2.5f), p.y + (c * 2), p.z/*+ (c * 1)*/);
        go.transform.position = p;
        go.GetComponentInChildren<TextMesh>().text = x.Score.ToString();
      }

    }
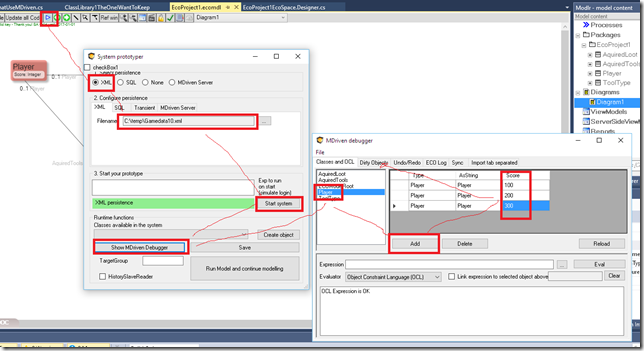
Since you do not have any Player-objects yet, turn to the MDriven debugger to create a few in the xml file c:\temp\Gamedata10.xml
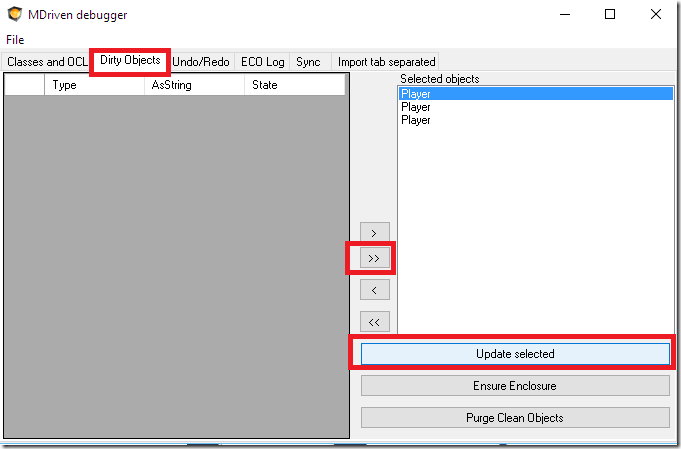
Finally, save them by switching to the DirtyObjects tab and pressing "Update selected":
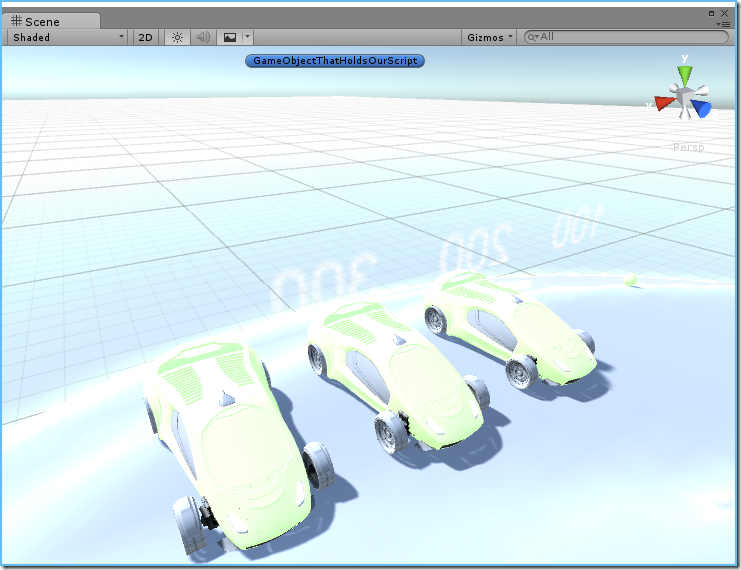
Then, get your cars and their scores like this:
Ok – that’s it for now.
We also have this clip that shows the entire process:

